Building a Farr 3.7
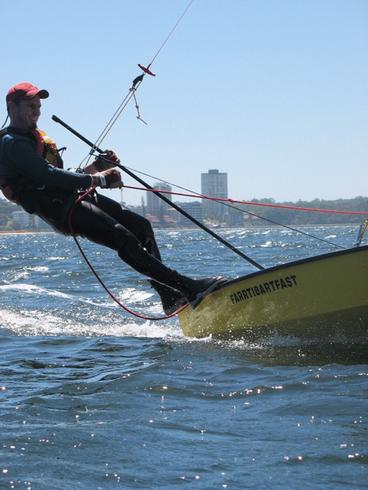
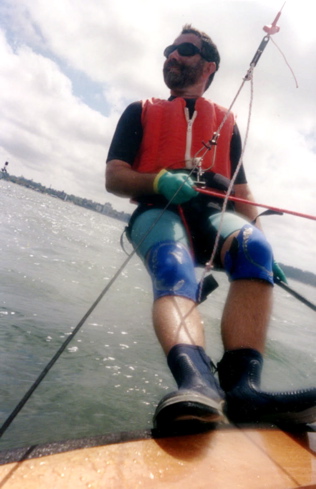
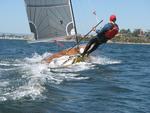
Toby sailing my Farr 3.7 with a big smile on his face. | 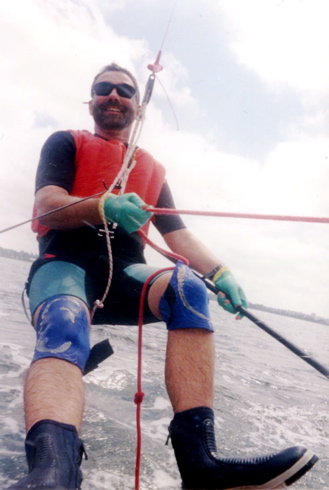 Me - on my 3.7! |
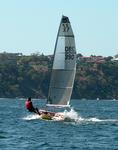 Pictures of my 3.7 sailing
 Pictures of Toby on my 3.7
Update: Adding a spinnaker to a 3.7
|
Toby sailing my Farr 3.7 with a big smile on his face. | Me - on my 3.7! |
Pictures of my 3.7 sailing
Pictures of Toby on my 3.7
Update: Adding a spinnaker to a 3.7
Having decided I was not up to sailing my skiff Moth any more I set out to look for another singlehander to sail. I did not want to get a Laser becuase I am probably not the right weight, and I did not fancy the hiking necessary for the upwind slog in a Perth sea breeze. The Contender looked quite good but it is too large and heavy for my taste. It is an 83kg boat (then add the 7kg mast and the 7.5kg plates...) that requires 3 people to lift, and that does not fit my ideal of a singlehander. The Musto Performance Skiff is an exciting new boat but is very expensive and I suspect it will be rather over canvassed for the standard Perth sea breeze.
Then I spotted the Farr 3.7. Designed in 1971 by Bruce Farr, it has a one design hull that can be home built in ply or foam and glass. The sail measurements are also closely constrained, but you have freedom to set up the rig to suit your body weight. The cockpit is self draining and the main is fully battened. See the Farr 3.7 Association for more details.
To me this was my ideal single hander, fast and fun, yet accessible to most sailors. Its rig is not so large as to make the boat overwhelming in our usual sea breeze. The hull is compact and easy to store, it can also be built down to weight without resorting to exotics.
Here is a comparison with some other single handers
| Farr 3.7 | Laser | Contender | Musto Performance Skiff | |
| Length | 3.7m | 4.23m | 4.87m | 4.55m |
| Beam | 1.52m | 1.37m | 1.5m | 2.35m (with racks) |
| Sail area | 8.8m2 | 7m2 | 11.2m2 | 11.5m2 + 15.5m2 spinnaker |
| Hull weight | 50kg | 59kg | 83kg + 7kg mast | 55kg |
| Designed | 1971 | 1971 | 1967 | 1999 |
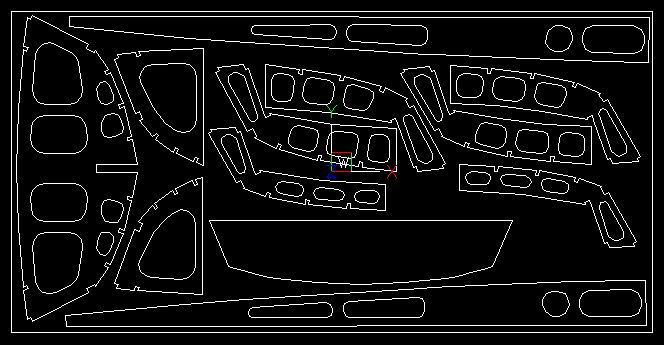
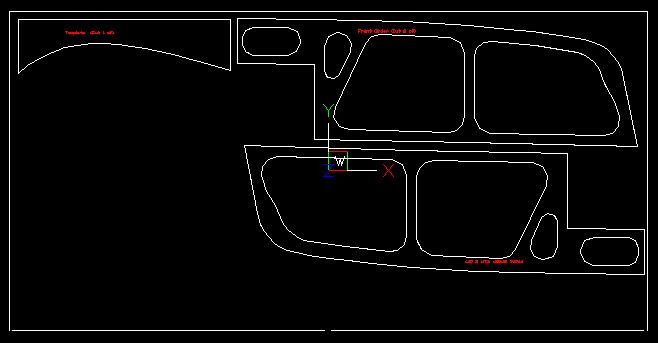
On getting the plans a friend suggested that I get the plywood parts laser cut. I prepared AUTOCAD drawings of the plywood parts and nested them to fit 1.2 x 2.4 sheets of ply. These drawings were emailed to a couple of laser cutting companies for quotes. Having selected a quote ($187 including GST) I delivered two sheets of ply for cutting. A couple of days later I received an email saying "come and pick them up". Definitely the way to go!
These AUTOCAD files are now available from the Farr 3.7 Association
The laser cut is very fine and clean, less than 0.5mm wide. You would not be able to mark out your parts on the ply with greater accuracy, let alone cut them out to that accuracy. Overlaying the parts on plan sheet confirmed the wonderful accuracy of the cutting. A light wipe with sandpaper cleans off the very thin layer of charing from the plywood edge on places where you wish to glue, otherwise the edge was left as is.
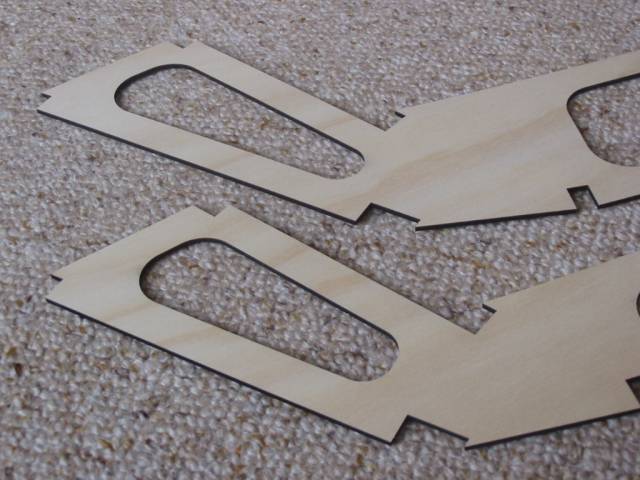
A close up of some of the laser cutting. Note that since the
sections between the stringers along the bottom curve have to be
scalloped out the frames were cut with straight lines between the
stringers.
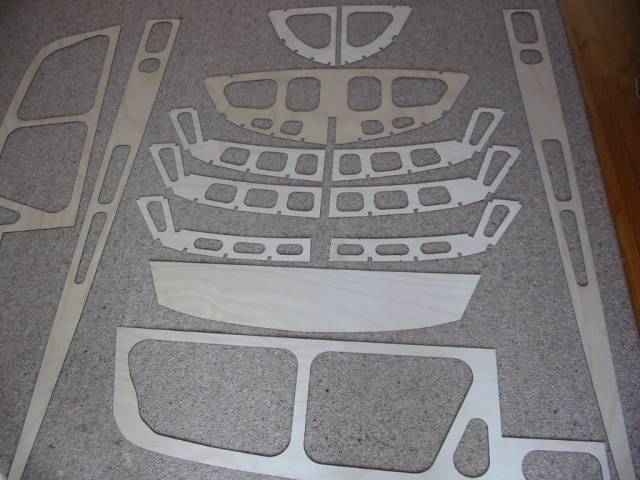
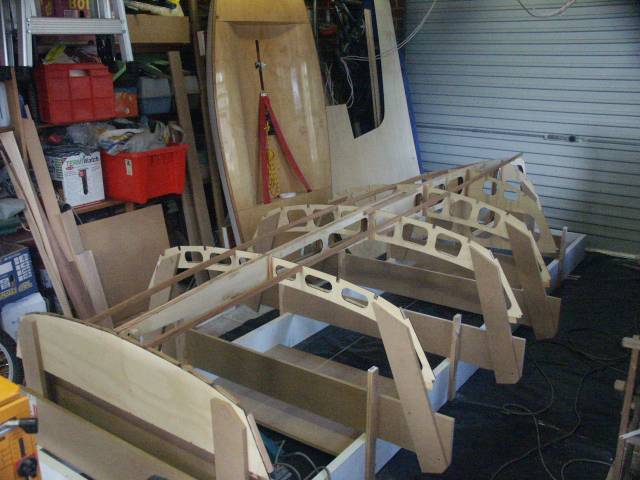
A general view of the kit of pieces
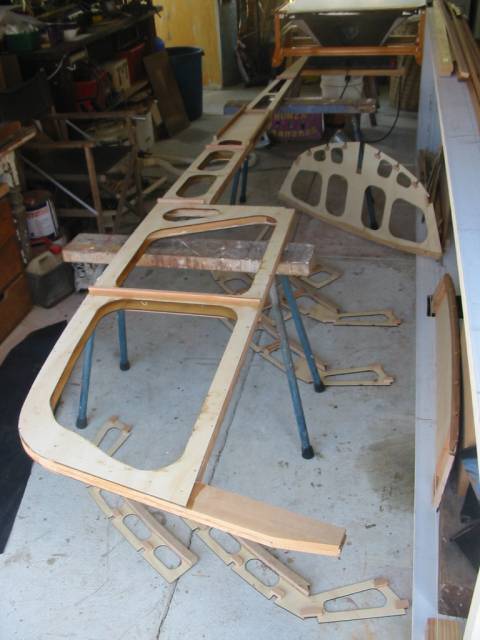
Girder assembled
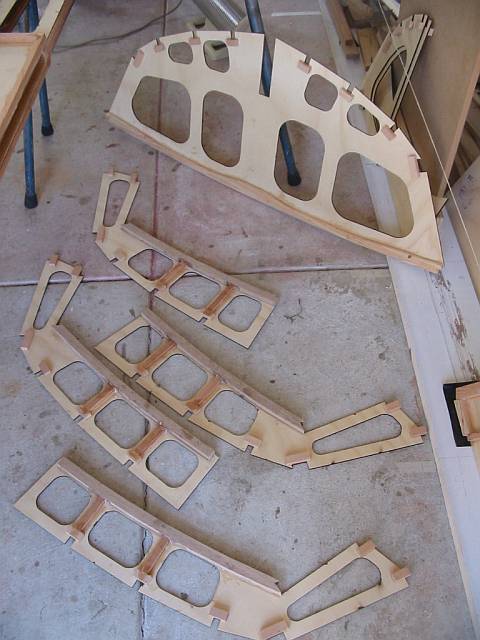
Some of the frames. Frame 2 has extra lightening holes cut into it because a V bulkhead will be added just behind it to form the end of the cockpit
Another view of the girder

Trial fit of the girder in the building frame
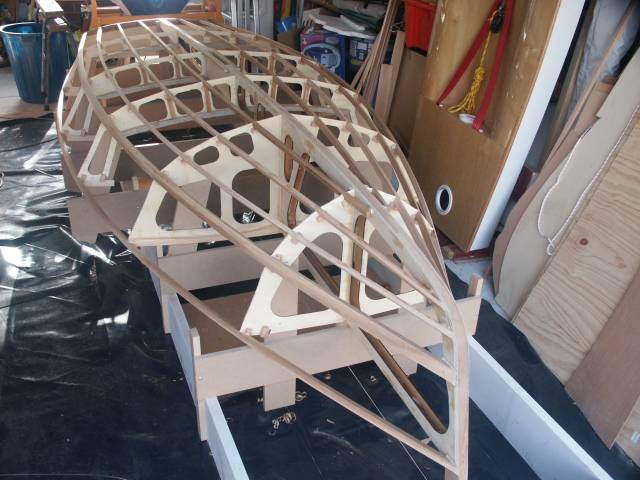
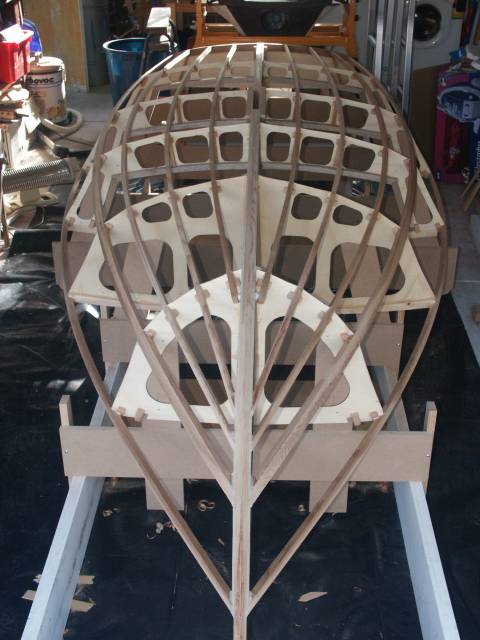
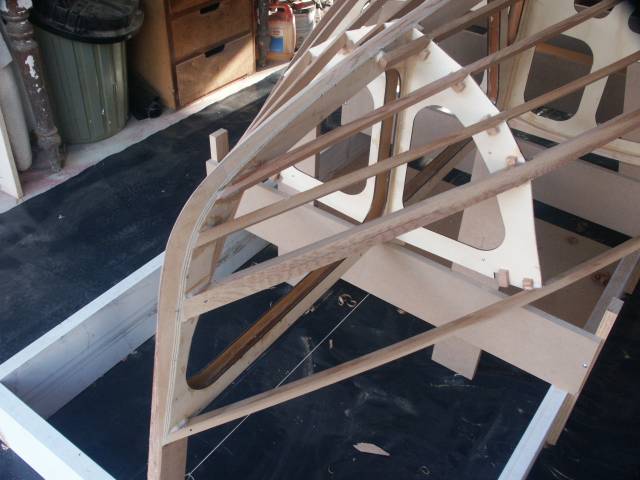
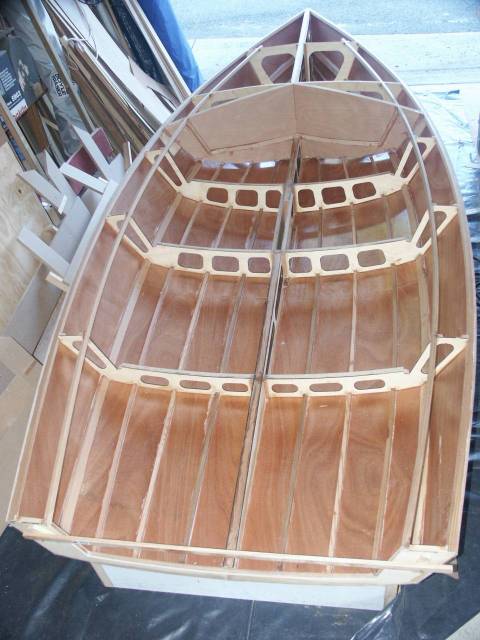
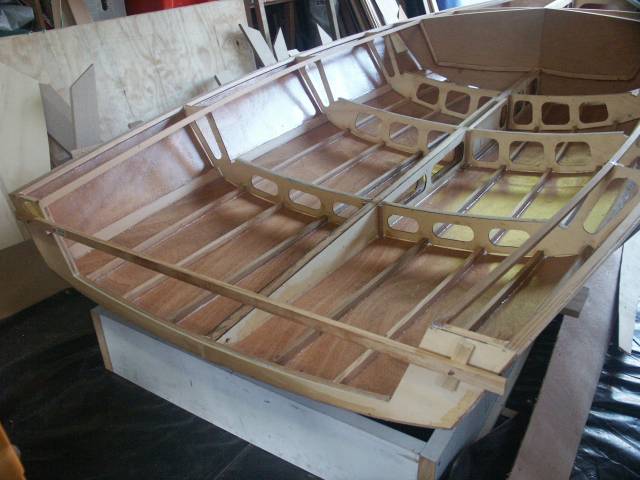
View of the girder with frames attached and the first stringer
being trial fitted. The precision of the laser cutting was greatly
appreciated here. Everything lined up very nicely with no dramas.
Even so it is a lot of work getting everything set up. It took me
three evenings of careful work, setting up, measuring, and measuring
again, until I was satisfied I had everything right before gluing.

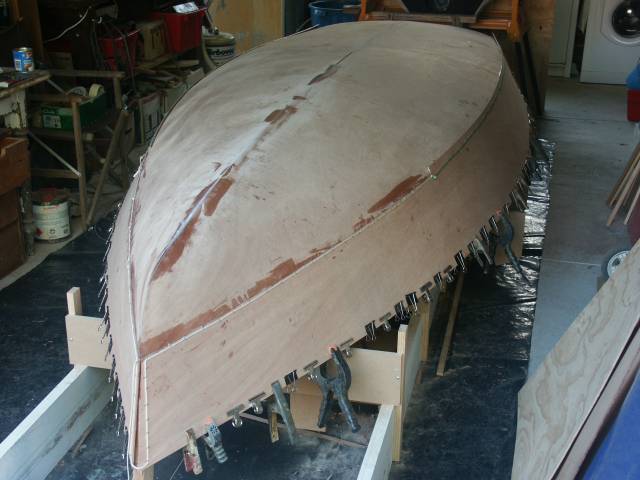
Bottom and topsides on. Forcing the double curvature into the bottom panels is a bit of work. I used some timber battens with self tappers into the girder to hold the centre edge down smoothly. A continuous line of bulldog clips along the chine worked well. Collectively they can exert a great force. A few weights and a batten were used to ensure contact with the stringer closest to the centreline. Near the bow I did not get the join between the bottom panels quite right and I had a bit of a gap - but epoxy is wonderful stuff. The topsides were easy. I used staples along the chine and bulldog clips on the gunwale. I fired the staples through some thin cord to make extracting them much easier.
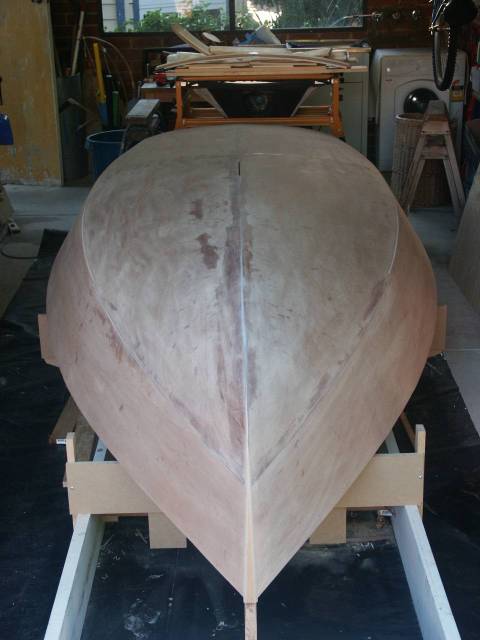
It's good to be able to turn her over
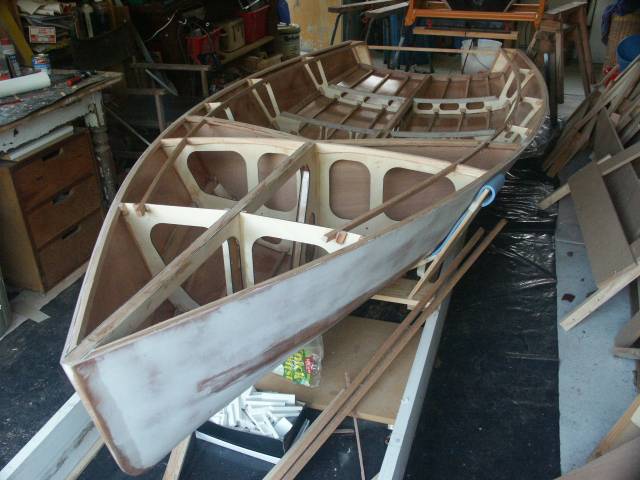
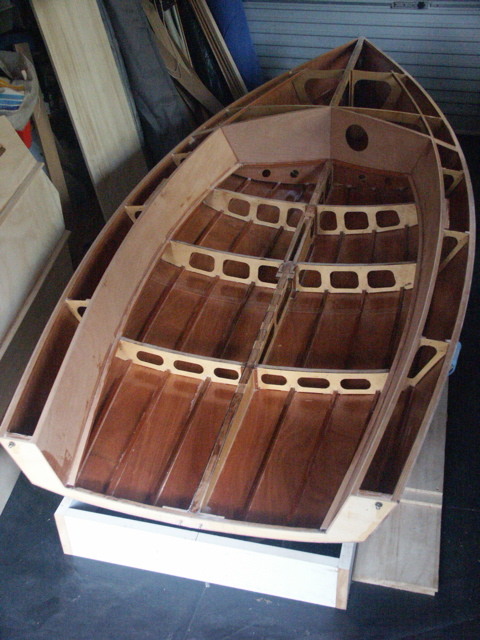
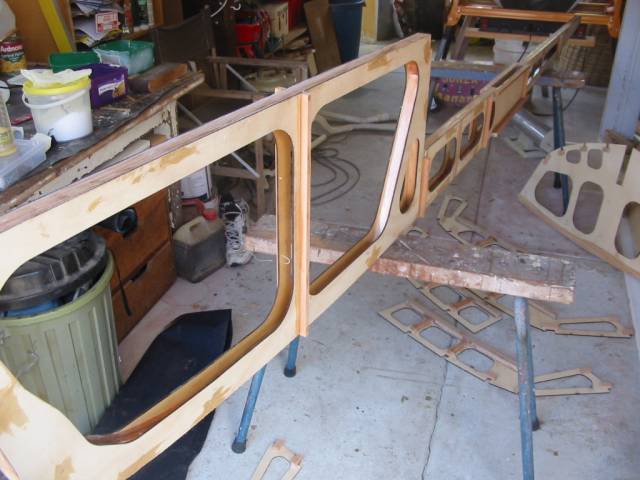
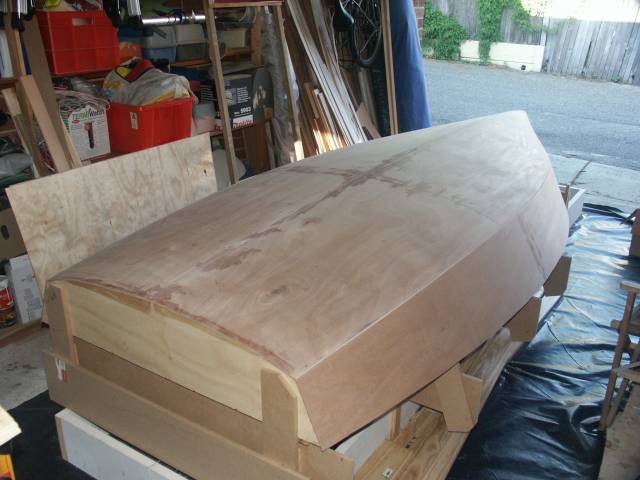
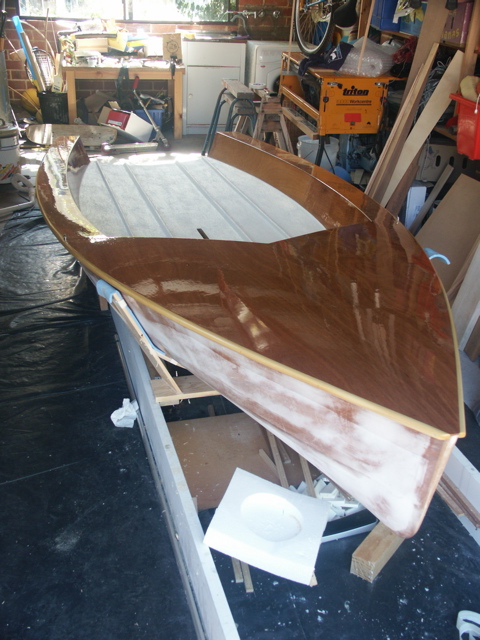
V bulkhead and cockpit sides in.
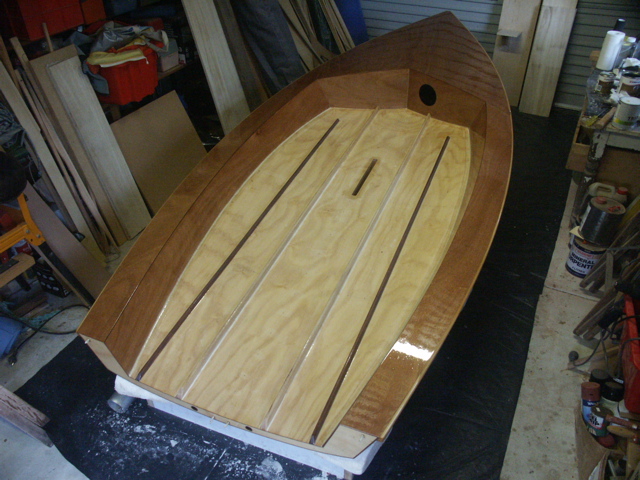
Decks on and varnished!
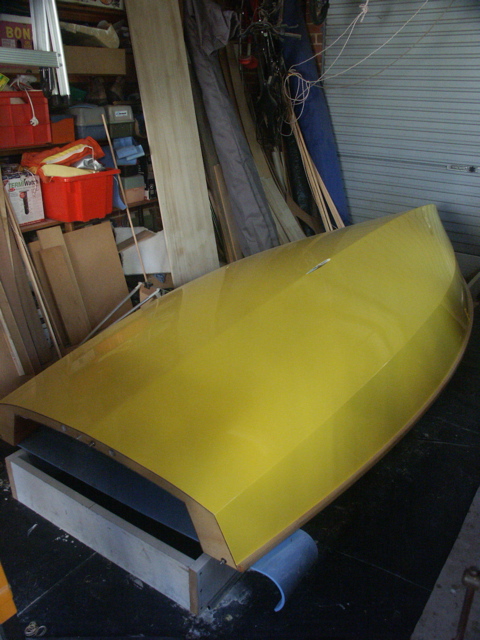
It's yellow!